
Floor Tile Installation
Flat, level, built to handle daily life. We install floor tile in kitchens, living areas, hallways, bathrooms, and beyond.
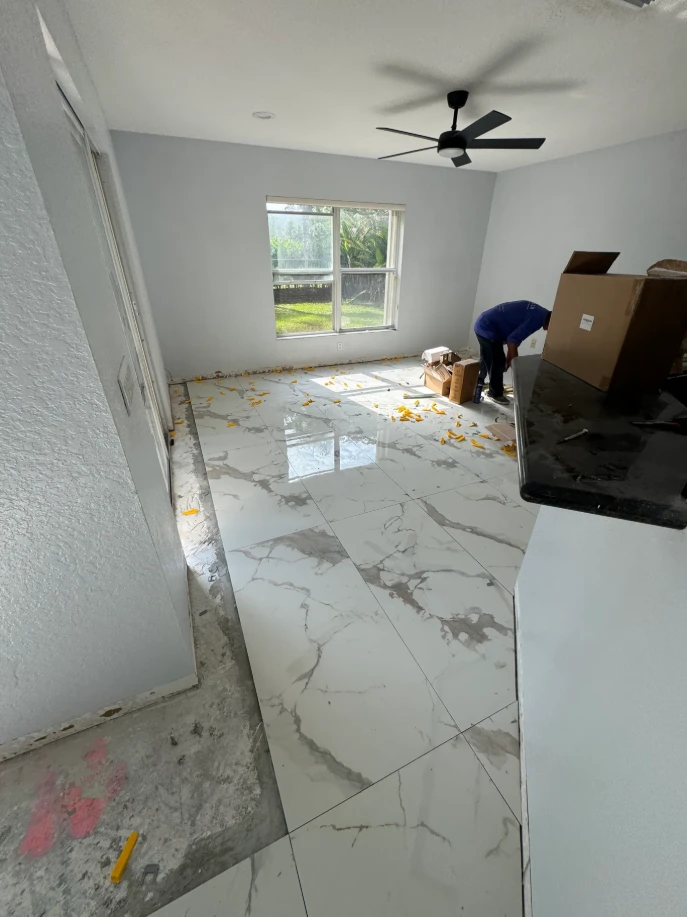
Floor Tile That Lasts
A floor tile installation done correctly should last decades without cracking, lifting, or developing hollow spots. Done incorrectly — rushed substrate prep, wrong thinset, inadequate coverage — it can start failing in a year or two. The difference isn't always visible until it's too late.
We focus on getting the foundation right: verifying that the subfloor or slab is flat within the tolerance required for the tile size you've chosen, addressing any high or low spots before setting begins, and using the correct thinset mortar type and notch trowel size for the specific tile. Large-format tiles (anything 15 inches or bigger) require back-buttering in addition to floor coverage to eliminate voids under the tile — we do this as a matter of course, not an upsell.
Our Floor Tile Process — Step by Step
We check for flex, cracks, moisture, and flatness. Wood subfloors often need cement board overlay. Concrete slabs may need grinding or leveling compound in low spots.
We find the room's visual center, establish perpendicular reference lines, and dry-lay tiles to confirm the pattern before anything is bonded down.
Thinset is applied with the correct notch trowel for the tile size. Large tiles get back-buttered. Tiles are set and leveled using wedge-clip leveling systems to prevent lippage.
We wait the full cure time before grouting — no shortcuts. Grout is worked into joints, excess is cleaned off, and joints are finished consistently across the whole floor.
Threshold strips, reducer profiles, and cove base are installed where the tile meets other flooring materials or walls. Clean edges, no exposed tile corners.
Floor Tile Installation Across Our Service Area
Available in West Sacramento, Bryte, Broderick, and Sacramento. Contact us to discuss your floor project.
(916) 313-2608 Request an Estimate